A Premier Kitchen Cleaning Service
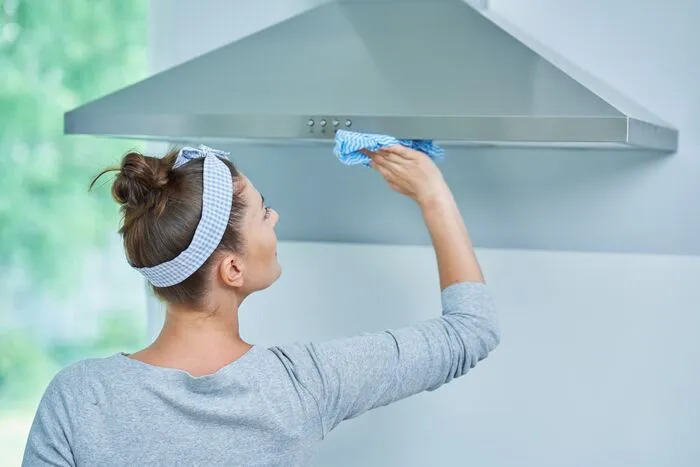
Looking for a kitchen cleaning service to tackle through your greasy countertops, dirty stove, and sticky floors?
Look no further than London House Cleaners.
Our professional kitchen cleaners are skilled in providing thorough and detailed cleaning services to leave your kitchen shining.
Skilled Kitchen Cleaners at Your Service

At House Cleaners London, our dedicated kitchen cleaning specialists bring unmatched expertise to every nook and cranny of your culinary space. Armed with the right tools and insights, we’re passionate about ensuring your kitchen shines and impresses.
Professional Kitchen Cleaning in London
The kitchen is the heart of every London home, bustling with energy from morning until night. But with daily use, this vital area can become a breeding ground for dirt, grease, and grime, making a deep kitchen cleaning essential.
At London House Cleaners, we aim to thoroughly clean you kitchen from top to bottom, leaving it sparkling and ready for use. We’ll disinfect and wipedown your appliances, countertops, and cabinets, while also removing any hard-to-reach grime from corners and crevices.
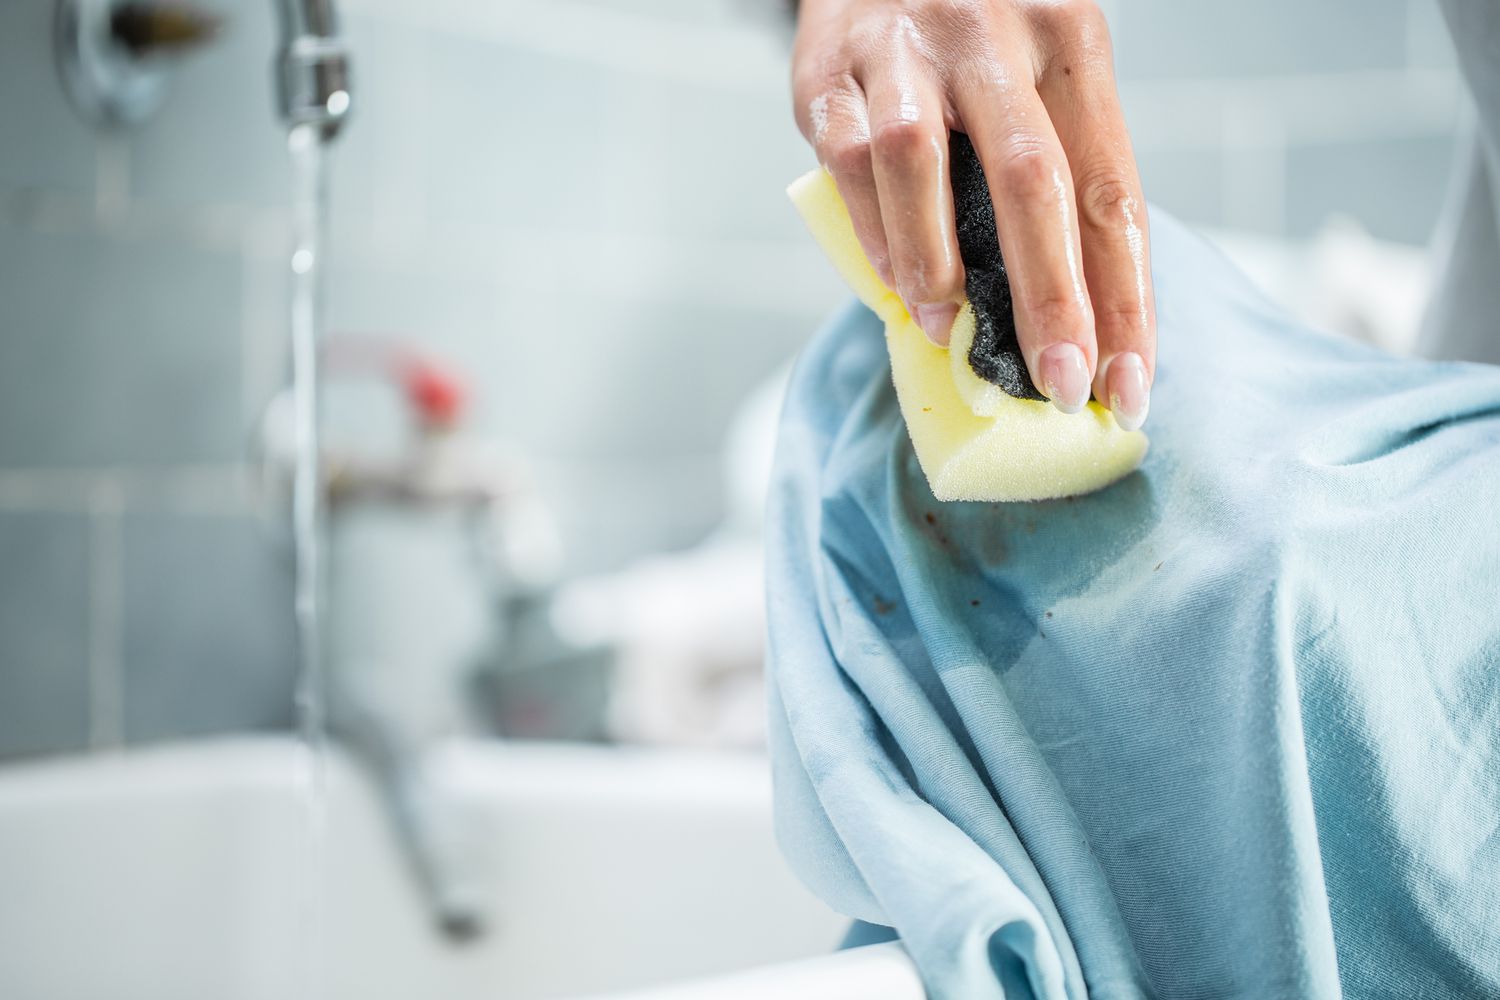
In addition to a deep clean, we also offer specialised services such as oven cleaning, refrigerator cleaning, and tile and grout scrubbing. By restoring the shine and cleanliness of these areas, we’ll transform your kitchen into a truly welcoming and sanitary space.
Spanning more than 12 years, our reputable kitchen cleaners have seen and handled it all. Our customers know that they can count on us to keep their living spaces in tip-top condition.

Kitchen Cleaners Near You
Our deep kitchen cleaning service covers all boroughs and towns of London, including Kensington, Greenwich, and Wimbledon. Our local expertise for London kitchens is unmatched, and our team is always just a phone call away.
12+ Years of Experience
Our staff have been cleaning kitchens for over 12 years, making us reputable cleaning provider in London. From greasy microwaves to dusty shelves, we’ll leave no stone unturned.
Why Choose Us for Your Kitchen Cleaning?
If your kitchen is in dire need of professional cleaning, you may be wondering why London House Cleaners is the right choice for you. Here are a few reasons to consider:
Instant Free Quote
Discover our competitive rates instantly after making your booking. We provide transparent pricing for all of our services, keeping you informed every step of the way. No hidden fees or surprise charges.
Flexible Scheduling Options
London homeowners often times have irregular schedules, and that’s ok! We offer flexible scheduling options to accommodate your busy life. Whether you need a one-time deep clean or recurring services for your kitchen, we can accomodate your request.
Experienced Kitchen Cleaning Professionals
We only recruit professional kitchen cleaners who have years of experience in the industry. They are fully trained and insured, ensuring that you’re covered for any unintentional damages from our end.
Eco-Friendly Cleaning Products
A big part of our mission to provide effective cleaning solutions while minimising our impact on the environment. That’s why we use eco-friendly cleaning products that are safe for your kitchen, your family and the planet.
100% Satisfaction Guaranteed
We stand behind our work, which means if you’re unsatisfied, we’ll fix it. If we’ve done a shoddy job, let us know and we’ll re-clean your kitchen for free.
State-of-the-Art Kitchen Cleaning Equipment
Our cutting-edge tools ensure a thorough and efficient clean, meeting the highest standards. These include advanced steam cleaners, powerful vacuums and specialised brushes. Say goodbye to stubborn stains and greasy surfaces!
Additional Home Cleaning Services
Our cleaning services go far beyond just kitchens. We also offer deep cleaning for bathrooms, living areas, and bedrooms. Need carpet or rug cleaning services? We have you covered there too! And if you’re moving in or out of a property, we provide comprehensive move-in/move-out cleaning services.
Affordable Rates
Quality doesn’t always mean expensive. We offer value for your money when booking our services. We try to offer premium kitchen cleaning services at budget-friendly prices.
My kitchen’s transformation was nothing short of miraculous! They even got those tricky spots behind the cabinets. Absolutely thrilled.
Joanne Ramsay
Shoreditch, East London
With a family gathering looming, I was stressed. But their team made my kitchen look brand new, and my guests couldn’t stop complimenting!
David Williams
Islington, North London
I was convinced some of the stains on my kitchen counters were permanent. House Cleaners London showed me otherwise. Over the moon with the results!
Sarah Williams
Wimbledon, South West London
London House Cleaner’s approach to kitchen cleaning is second to none. My appliances haven’t looked this good since they were new!
John Fredrick
Chelsea, West London
Areas We Deep Clean in London
The kitchen, often described as the home’s beating heart, merits unparalleled attention and care. That’s where we excel. From the iconic high-rises in Central London to the snug abodes in East London, the serene dwellings in North London to the historical townhouses in West London, and the dynamic households of South London, our kitchen cleaning services reach every part of the city.
Explore our areas we serve to see all of our kitchen cleaning service locations. Book online or call us today!
What’s Included in a Deep Kitchen Cleaning
Thorough cleaning of stove, oven, fridge, freezer, and microwave.
Sanitization of sink, counter, and backsplash.
Detailed cleaning of cabinets, drawers, and cupboards.
Dishwasher, toaster, and coffee maker cleaning.
Removal of food crumbs, grease spills, and fingerprints.
Wiping down of windows, doors, and light switches.
Cleaning and sanitizing of utensils, pots, pans, and other appliances.
Floor cleaning, ensuring every inch shines.
Addressing smudges and stains on walls and surfaces.
Ensuring the safety and health standards of your kitchen environment.
Frequently Asked Questions (FAQs)
1. How often should I book a deep kitchen cleaning service?
We recommend at once a month or atleast four times a year. However, cleaning frequency will heavily depend on it’s usuage – someone living alone might not need frequent cleaning as a family of five.
2. Do you offer commercial kitchen cleaning?
Yes, we cater to both residential and commercial properties, including restaurants, cafes, and other food establishments. We have specialised kitchen commercial cleaners to ensure that your workspace is always sparkling clean and safe for food preparation.
3. How long does a deep kitchen cleaning take?
Your service’s duration will depend on the size and condition of your kitchen. On average, it takes between 2-4 hours for a thorough deep clean.
4. Are your cleaning products safe for my family?
Absolutely! We prioritise health and use eco-friendly products. These are non-toxic and won’t leave behind any harmful residue or fumes. We also make sure to label our products clearly, so you know exactly what is being used in your home.
5. Do I need to be present during the cleaning?
It’s not necessary for you to be present during the cleaning process unless you prefer to. However, we do recommend you being present intitially if you have specific instructions or special requests.
6. Do you clean kitchen appliances like chimneys?
Yes, we cover a range of kitchen appliances, ensuring they’re free from dirt and grime. Items we typically clean include microwaves, ovens, stoves, refrigerators, dishwashers and chimneys. We also make sure to clean the exterior of these appliances for a complete cleaning experience.
7. How do I book your services?
You can book directly through our website or give us a call. If by call, we’ll ask for a few details, such as the type of property and size, preferred date and time, and any specific requests you may have. If booking online, simply fill out our form with the same information, and we’ll confirm your booking via email or phone call.
8. Are there any hidden charges in your quote?
No, our quotes are transparent and all-inclusive. However, if unforseen circumstances do arise i.e you require additional services or the size of your property is larger than initially stated, we will discuss any additional costs with you beforehand.
9. What if I need to reschedule or cancel my booking?
We understand that life can get busy, and plans may change. That’s why we offer flexibility in our bookings. However, we do ask to tell us atleast 24 hours in advance if you need to reschedule or cancel your booking. This allows us enough time to make any necessary changes and give other clients the opportunity to book a slot during that time.
10. Do your kitchen cleaners bring their own cleaning supplies?
Yes, our professional kitchen cleaners are fully equipped to do the job. Items they typically bring include cleaning solutions, sponges, scrubbers, and microfiber cloths. If you have any preferences or allergies to certain products, please let us know beforehand so we can accommodate your needs.
Contact Our Kitchen Cleaning Specialists
Book online or call our kitchen cleaners at 020 3349 5801 today! After receiving your post code and deep kitchen cleaning requirements, we’ll provide you with a free, no-obligation quote.
If you have any questions or concerns, please don’t hesitate to reach out to our friendly and knowledgeable customer service team. We’re available 24/7 and always happy to assist in any way we can. Thank you for choosing us for your kitchen cleaning needs!

More From Our Blog
Cleaning Tips, Company News, And More From The London House Cleaners’ Team.
Book Your House Cleaning Service Today!
Get Instant Quote
As seen in


Book Your House Cleaning Service Today!
Get Instant Quote


