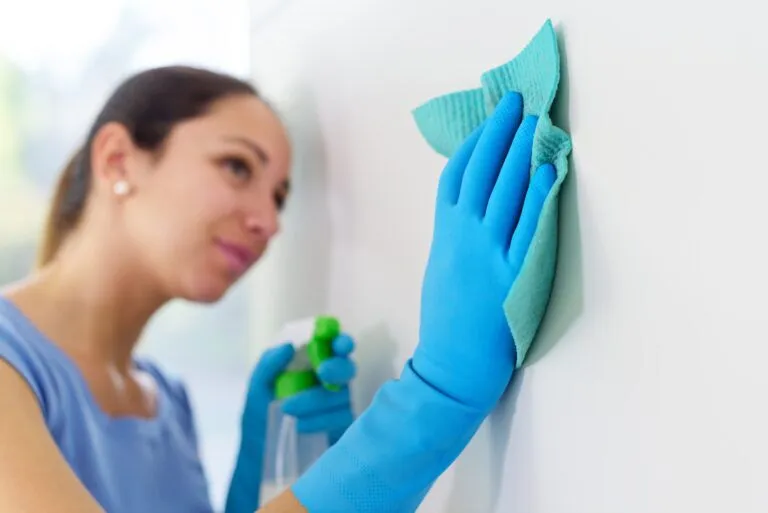
Living in any populated area has unique challenges, especially when preserving your home’s interior beauty. External pollutants, indoor allergens, and the regular wear and tear of daily activities can cause your walls to appear dull and worn out over time. Incidental spills, handprints, and the aftermath of celebrations can further contribute to this wear, making your walls a testament to a home that’s truly lived in.
However, there’s a silver lining! This guide aims to help you tackle these challenges head-on. We’ll dive deep into wall cleaning, offering practical DIY methods for homes everywhere. And for those times when the task feels too daunting, we’ll guide you on when it might be best to seek professional help.
Regardless of where you live, achieving and maintaining clean walls is entirely possible.
The Importance of Regular Wall Cleaning
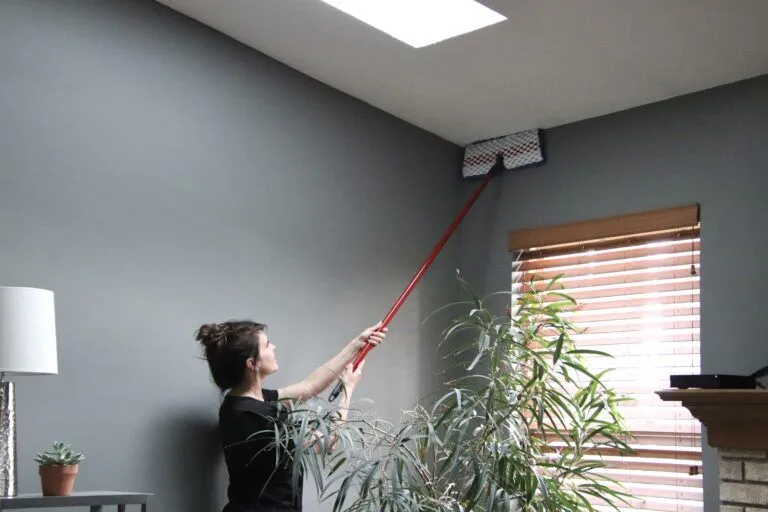
Wall cleaning might not always be at the top of our to-do list. However, the importance of this task extends far beyond aesthetics. Here’s why regular wall cleaning should be a priority in every household:
Aesthetic Appeal
Clean walls instantly refresh and brighten a room. Over time, walls can accumulate smudges, stains, and discolourations. Regular cleaning ensures that these imperfections are addressed promptly, maintaining the beauty of your interiors.
Health Benefits
Walls can be a magnet for dust, allergens, and airborne particles. By cleaning them regularly, you reduce the risk of these contaminants affecting the indoor air quality and, consequently, the health of the home’s inhabitants.
Prevention of Long-Term Damage
Neglected walls can develop stubborn stains, mould, and mildew, especially in areas with high humidity. Regular cleaning prevents these issues, saving you potential repair costs.
Enhanced Paint Longevity
Dirt and grime can cause paint on your walls to deteriorate faster. Regular cleaning helps, but for walls that have stubborn stains, fading, or scuff marks that won’t budge, a fresh coat of paint can restore their beauty. If cleaning isn’t enough, consider a professional painters Berwick to refresh your interiors completely.
Economic Benefits
In the long run, maintaining clean walls can be cost-effective. Regularly cleaned walls require repainting less frequently, and potential issues like mould or structural damage can be identified and addressed early on.
Emotional Well-being
A clean environment can positively impact one’s mood and mental well-being. Clean walls contribute to a sense of order and tranquillity in the home, making it a more pleasant space.
While it might seem like a minor aspect of home maintenance, regular wall cleaning plays a crucial role in preserving your living space’s beauty, health, and longevity. It’s an investment in the comfort and well-being of everyone who calls your house a home.
READ: The Benefits of Regular House Cleaning
Essential Tools and Supplies
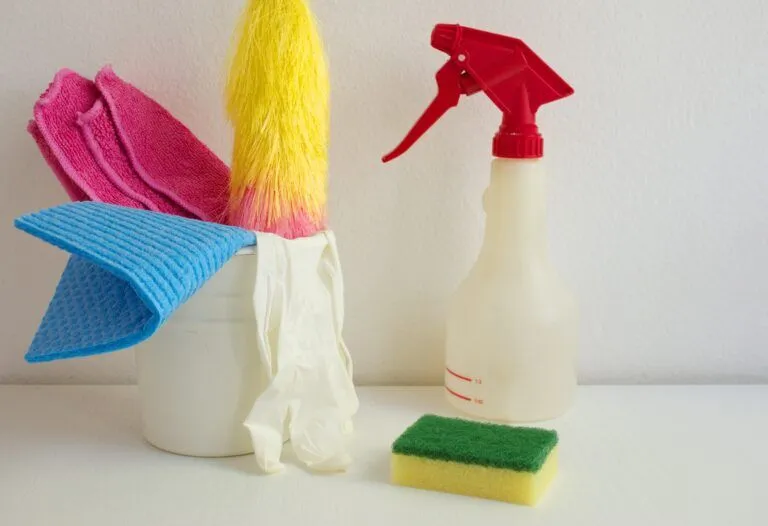
Before embarking on your wall-cleaning journey, it’s imperative to be well-equipped. Having the right tools makes the process smoother and ensures optimal results. Here’s a detailed breakdown of what you’ll need:
- Soft Brush Attachment: This is perfect for gently removing dust and cobwebs without scratching the wall.
- Vacuum Cleaner: A vacuum with a hose can help in efficiently sucking up dust, especially from those hard-to-reach corners.
- Cloth-Covered Broom: This tool is excellent for cleaning higher areas of walls or ceilings. The cloth ensures a soft touch, preventing any damage.
- Natural Sea Sponge: Its gentle texture makes it ideal for scrubbing without causing abrasions. It’s also highly absorbent, ensuring a thorough clean.
- White Cloth: Using a white cloth is crucial to prevent colour transfers onto the wall, especially when dealing with lighter paint shades.
- Eco-friendly Cleaning Agents: Opt for natural cleaners like baking soda or unscented liquid soap. These effectively remove stains and grime and are safe for the environment and household members. Using such cleaning agents can also help reduce the risk of allergic reactions and are gentle on the wall’s paint.
By ensuring you have these tools and solutions on hand, you’re setting yourself up for a successful and efficient wall cleaning session, preserving the beauty and integrity of your walls.
Your Step-by-Step Wall-Cleaning Guide
Below is a five-step guide designed to navigate you through effectively cleaning your walls. Each step is crucial in ensuring your walls look refreshed and free from potential long-term damage.
Step 1: Prepare Your Tools And Working Space
Before you begin the cleaning process, setting the stage is essential. Move furniture away from the walls to ensure you have enough space to work comfortably and prevent accidental splashes or spills on your furnishings.
Once the furniture is moved, lay down drop cloths or old sheets on the floor. This will safeguard your flooring from any cleaning solution drips or dust that might fall during the cleaning process.
Step 2: Clear The Walls Of Dust and Cobwebs
Dusting is a crucial first step because dust and cobwebs can create a muddy mess when mixed with a wet cleaning solution. Use a vacuum cleaner with a soft brush attachment for effective dusting. For hard-to-reach spots or properties needing a more thorough clean, professional cobweb and ceiling dust removal services can ensure even high areas are safely and effectively cleared without missing hidden buildup. This tool is handy for reaching higher areas and corners where dust accumulates. If you don’t have a vacuum, a simple broom wrapped in a soft cloth will also do the trick. Ensure you cover every inch of the wall, paying special attention to corners and edges.
Step 3: Wash Your Walls
Once the walls are dust-free, it’s time to wash them. Begin at the top of the wall and gradually work your way down. This technique ensures that any dirty water or cleaning solution drips down onto sections you haven’t cleaned yet, preventing streaks or marks.
A mixture of mild detergent and water for the washing solution usually works well for most walls. Dip a soft sponge or cloth into the solution, wring out any excess liquid, and gently scrub the walls. Remember to rinse the sponge or cloth to avoid spreading dirt frequently.
Step 4: Remove Stains
Occasionally, you might encounter stubborn stains that don’t come off with regular washing. The key to effective stain removal is identifying the type of stain and treating it accordingly. For instance, crayon marks might be removed with baking soda, while grease spots might require a dishwashing liquid.
Always test your chosen stain removal method on a small, hidden wall area first. This precaution ensures the technique won’t damage the paint or cause discolouration.
Step 5: Dry Your Walls Thoroughly
After cleaning, it’s essential to dry the walls thoroughly. Any lingering moisture can lead to mould or mildew growth, damaging the wall and posing health risks. To dry the walls, pat them down with soft, absorbent towels or cloths. Additionally, ensure the room is well-ventilated. You can open windows or use fans to circulate air and speed up drying.
Maintaining Exterior Surfaces: Fence
Just as interior walls require regular cleaning to maintain their appearance and longevity, exterior features like fencing also benefit from consistent upkeep. Colorbond fencing is renowned for its durability and low maintenance, but periodic cleaning can enhance its lifespan and aesthetic appeal. Utilizing mild detergents and soft brushes can effectively remove dirt and grime, ensuring your fence remains a complementary asset to your home’s overall look.
By meticulously following each of these steps, you’ll be rewarded with walls that look refreshed and well-maintained, enhancing the overall ambience of your home.
Tips For Cleaning Different Wall Types
While the general cleaning process remains consistent for most walls, certain types require special attention and care. Here’s how to approach some of these special cases:
Textured Walls
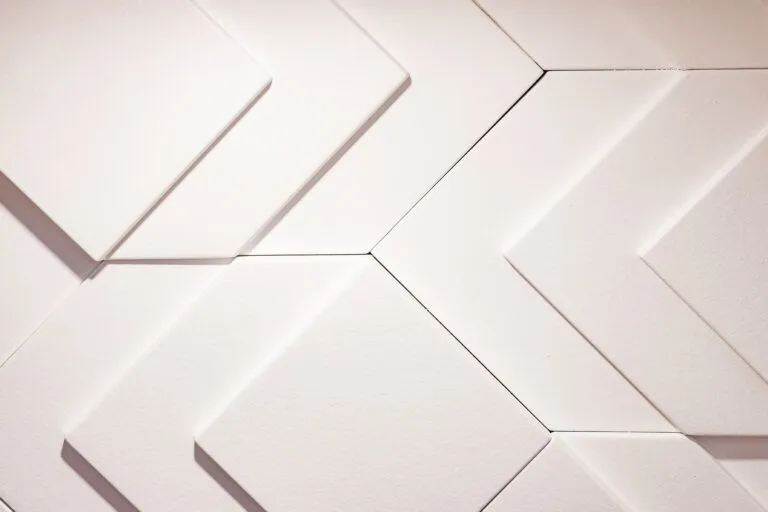
Textured walls, characterised by their intricate grooves and artistic patterns, inherently possess areas where dust and dirt can quickly accumulate. While adding depth and dimension to a room, these recesses can be a haven for grime if not correctly addressed. To effectively clean such surfaces without compromising their unique design:
- Dusting: Begin by using a soft brush attachment on your vacuum. This tool is adept at navigating the nooks and crannies of textured walls, ensuring a gentle yet thorough removal of dust and cobwebs. Approaching this step carefully is essential to preserve the wall’s delicate texture.
- Washing: When it comes to washing textured walls, the choice of tool is paramount. Opt for a very soft-bristled brush or a plush sponge. These tools can access the deeper recesses of the texture without being abrasive. As you scrub, gently, circularly lift away dirt without causing undue stress on the raised patterns.
- Drying: After washing, pat the wall gently with a soft, absorbent cloth. This step ensures that no moisture settles into the grooves, which could lead to mould or mildew growth.
Wallpapered Walls
With their diverse designs and materials, wallpapers often serve as a focal point in many interiors. However, their beauty can be accompanied by a certain fragility, especially in cases where the wallpaper is vintage or not explicitly designed to be washable. To ensure the longevity and vibrancy of your wallpapered walls:
- Consult Manufacturer Guidelines: Before embarking on any cleaning endeavor, it’s paramount to refer to the manufacturer’s recommendations. These guidelines provide insights tailored to the specific type and design of the wallpaper, ensuring you don’t inadvertently cause damage.
- Routine Dusting: As a preventive measure, regularly dust your wallpapered walls. Using a soft cloth or a duster, gently sweep across the surface to remove any accumulated dust or particles. This light maintenance can help preserve the wallpaper’s original lustre and prevent grime buildup.
- Handling Stains: In case of a spill or stain, approach cautiously. Using a sponge that’s been dampened (but not soaking wet), gently blot the affected area. It’s crucial to avoid aggressive scrubbing, as this can fade the wallpaper’s colour or even damage its intricate designs.
- Drying: If you’ve used any moisture during the cleaning process, ensure you pat the area dry with a soft cloth. This step prevents any residual moisture from seeping into the wallpaper, which could compromise its adhesive or lead to mould growth.
Wooden Walls
Wooden walls and panelling exude a timeless charm and warmth, making them a favoured choice for many interiors. However, the natural properties of wood demand specialised care to ensure its beauty and integrity are preserved over time. Here’s a detailed approach to maintaining and cleaning wooden walls:
- Routine Dusting: Wood can easily trap dust and airborne particles with its porous nature. Dusting wooden walls or panelling regularly using a soft cloth or a duster is essential. This simple routine maintains the wood’s appearance and prevents the accumulation of grime that can seep into the wood’s grain over time.
- Gentle Washing: Opt for a mild detergent solution when your wooden walls need a more thorough cleaning. The gentleness of the detergent ensures the wood’s natural oils aren’t stripped away. When applying the solution, use a cloth or sponge that’s been well-wrung out. Excess moisture can harm wood, leading to issues like swelling or warping.
- Prompt Drying: After any cleaning that involves moisture, it’s crucial to dry the wood immediately. Use a soft, absorbent cloth to pat down the walls, ensuring no moisture remains on the surface. This step is vital in preventing unsightly water stains and potential structural damage.
- Periodic Polishing: Over time, wood can lose some of its natural sheen due to exposure to environmental factors. Consider applying a wood polish or conditioner periodically to rejuvenate its lustre and protect its surface. These products enhance the wood’s appearance and protect against potential damage.
Painted Walls with a Matte Finish
Matte finishes, while offering a sophisticated and contemporary look, come with their own set of challenges when it comes to maintenance. Although aesthetically pleasing, their non-reflective nature can be more susceptible to marks and stains. Here’s a comprehensive approach to caring for walls with a matte finish:
- Consistent Dusting: The porous nature of matte finishes can attract and hold onto dust more readily than glossier counterparts. To maintain its pristine appearance, it’s essential to dust the walls regularly using a soft cloth or duster. This not only preserves the finish but also prevents the buildup of particles that can dull the wall’s appearance over time.
- Gentle Cleaning: When it comes to cleaning, matte finishes demand a gentle touch. Use a mild detergent solution to wipe down the walls softly. It’s crucial to avoid aggressive scrubbing, as the delicate nature of matte finishes can easily be marred by abrasions or result in an uneven appearance.
- Addressing Stains: In the event of a stubborn stain on a matte-finished wall, traditional scrubbing might do more harm than good. Consider touching up the affected area with matching paint instead of risking further damage or an inconsistent finish. This method often provides a more seamless and effective solution, restoring the wall to its original state.
Brick or Stone Walls
Natural surfaces like brick or stone walls add a rustic charm and texture to interiors, but they also come with unique cleaning challenges due to their porous and uneven nature. Here’s a detailed guide on how to maintain and clean such surfaces effectively:
- Regular Vacuuming: Given the textured nature of brick and stone walls, they can easily trap dust, cobwebs, and other small debris in their crevices. To address this, use a vacuum cleaner equipped with a brush attachment. This tool is adept at navigating the nooks and crannies, ensuring a thorough removal of loose particles without causing abrasion to the surface.
- Washing the Surface: A deeper clean might be in order if the wall appears grimy or has visible stains. Prepare a mild detergent solution, ensuring it’s not too concentrated to prevent potential discolouration. Scrub the surface using a brush with natural bristles, which are gentle yet effective. The natural bristles are flexible enough to get into the wall’s uneven areas, lifting away dirt without being too harsh on the material.
- Rinsing and Drying: After washing, it’s essential to rinse the wall thoroughly. Any residual soap can leave a filmy residue or, over time, cause discolouration. Use clean water and ensure all detergent is washed away. Once rinsed, pat the surface with an absorbent cloth or towel to remove excess moisture. Given the porous nature of brick and stone, it’s crucial to dry the wall as much as possible to prevent moisture-related issues like mould or mildew growth.
Retaining Walls
Outdoor walls, including retaining walls, play a crucial role in both structural support and landscape aesthetics. Found in gardens and various outdoor spaces, these walls require routine cleaning to prevent the buildup of dirt, moss, and other debris that can compromise their appearance and durability.
For effective maintenance, using the right cleaning methods and products is essential. If you’re looking for specialised retaining wall supplies, visit Retaining Wall Supplies. Additionally, if you’re in Adelaide and need materials or expert advice specific to your location, check out Retaining Wall Supplies Adelaide for region-specific options.
Tiled Walls
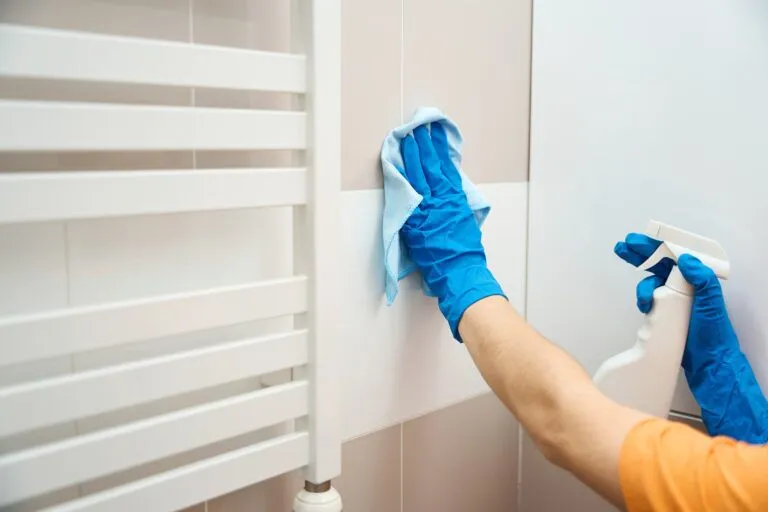
Tiled walls, often found in bathrooms, kitchens, and other moisture-prone areas, offer a sleek and easy-to-clean surface. However, their grout lines and the potential for water spots require specific care to keep them looking their best. Here’s a comprehensive guide on maintaining and cleaning tiled walls:
- Regular Dusting: While tiles might not hold onto dust, the grout lines can. Before any wet cleaning, dusting or wiping down the tiles to remove any loose debris is a good idea. A soft cloth or duster works well for this purpose.
- Washing the Tiles: A mixture of warm water and a mild detergent is often sufficient for general cleaning. Wipe down the tiles using a soft sponge or cloth, paying attention to any spots or stains. For tiles with a gloss finish, avoid abrasive tools or cleaners that might scratch or dull the surface.
- Grout Cleaning: Grout can be particularly susceptible to staining and mould growth, especially in damp environments. For cleaning grout, consider using a mixture of baking soda and water to form a paste. Apply this to the grout lines and scrub gently with a small or old toothbrush. If the grout is stained, a mixture of equal parts white vinegar and water can be sprayed, left for a few minutes, and then scrubbed.
- Rinsing and Drying: After cleaning, it’s essential to rinse the tiles thoroughly to remove any soap or cleaning solution residues. This prevents streaks and ensures the tiles retain their shine. Once rinsed, use a soft, absorbent cloth to dry the tiles. This step is critical in moisture-prone areas to prevent water spots and mineral deposits.
- Periodic Sealing: Depending on the type of grout used and the location of the tiles, consider sealing the grout lines periodically. This acts as a barrier against moisture and staining, prolonging the clean appearance of the grout.
By understanding the specific needs of different wall types, you can ensure that your cleaning methods are both practical and safe, preserving the beauty and integrity of every room in your home.
Wall Cleaning Tips for London Residents
London’s urban environment, marked by pollution and heating system outputs, can particularly affect the cleanliness of walls. Here’s a concise guide to address these challenges:
- Tackling Pollution Grime: The city’s pollution can lead to a noticeable layer of dirt on walls, especially near main roads. Increase the frequency of your wall cleaning sessions using microfiber cloths that effectively capture fine dust.
- Managing Heating Residues: Heating systems, especially older ones, can emit residues that settle on walls. Regularly service your heating units to reduce this output. If you notice soot or marks, clean promptly with a mild detergent to prevent permanent staining.
- Consider Deep Cleaning: Periodically, especially in high-traffic or older properties, walls may need a more intensive cleaning to remove accumulated grime.
- Seeking Professional Help: For stubborn dirt or large-scale cleaning, professional wall cleaners can offer specialised solutions that ensure your walls are thoroughly cleaned without damage.
By proactively addressing these London-specific challenges, you can maintain clean and presentable walls in your home.
Professional Touch: When DIY Isn’t Enough
While we wholeheartedly support DIY methods for day-to-day upkeep, there are moments when a professional touch is indispensable. Facing deep-set stains or dealing with the aftermath of a renovation? That’s where we at London House Cleaners step in. Our specialised services range from regular house cleaning to deep cleaning, end-of-tenancy makeovers, and even post-construction spruce-ups. We’re dedicated to ensuring your walls and home receive the utmost care.
Wondering if we serve your area? Check out the areas we cover, or contact us today!
Final Thoughts
The walls often play a silent yet significant role in maintaining a home. They witness our daily lives, occasionally collecting the marks and memories of our activities. This guide has provided comprehensive insights into wall cleaning, tailored for various wall types and specific challenges.
Whether opting for DIY methods or seeking professional assistance, remember that regular wall maintenance enhances the interior’s beauty and contributes to a healthier living environment. Clean walls are a reflection of a well-cared-for home.
Meanwhile, here’s an in-depth guide on how often you should deep clean your entire home.

